
 |
| Photo Credit: Ever & Anon |
A few months ago I wrote a post named "Let's Talk Lights". Its kind of funny so if you haven't read it, I recommend you do. :)
I mentioned in that post that I was putting the same light fixtures up through out the main living areas. You saw the new lights in the hallway and now you can see the new kitchen lights. No more ugly florescent!!
Before

After.
The light that replaced the florescent is a 12 inch globe and the light over the sink is an 8 inch globe like the ones in the hallway. I love them!
 |
| Photo Credit: Ever & Anon |
 |
| Photo Credit: Ever & Anon |
I did not mention my plan for over the dining room table in the previous "Let's Talk Lights" post . In New Orleans, lanterns are popular. Almost every house has a lantern fixture outside the home and many have them inside too. I fell in love with lanterns while living there and knew I wanted to have them in our new home. I started shopping online to find a great electric lantern but I was discouraged when I saw how expensive they were.
This one is $500 from Bellacor.

And this one is $900 from Circa Lighting.

Those prices are a bit more than I wanted to pay. I needed to find a new plan for the lantern and I decided to go shopping in New Orleans to see what I could find.
My last week there, I went to the French Quarter with a friend. Finding a lantern was on my list. I found out most lantern stores only produce exterior gas burning lanterns (the most popular type in NOLA). Gas lanterns aren't what I was looking for so I was starting to feel like this wasn't going to happen. I really wanted a piece of New Orleans in our Texas home. On our way back to her condo we stopped in one more store (not a lighting store) and I saw this lantern.
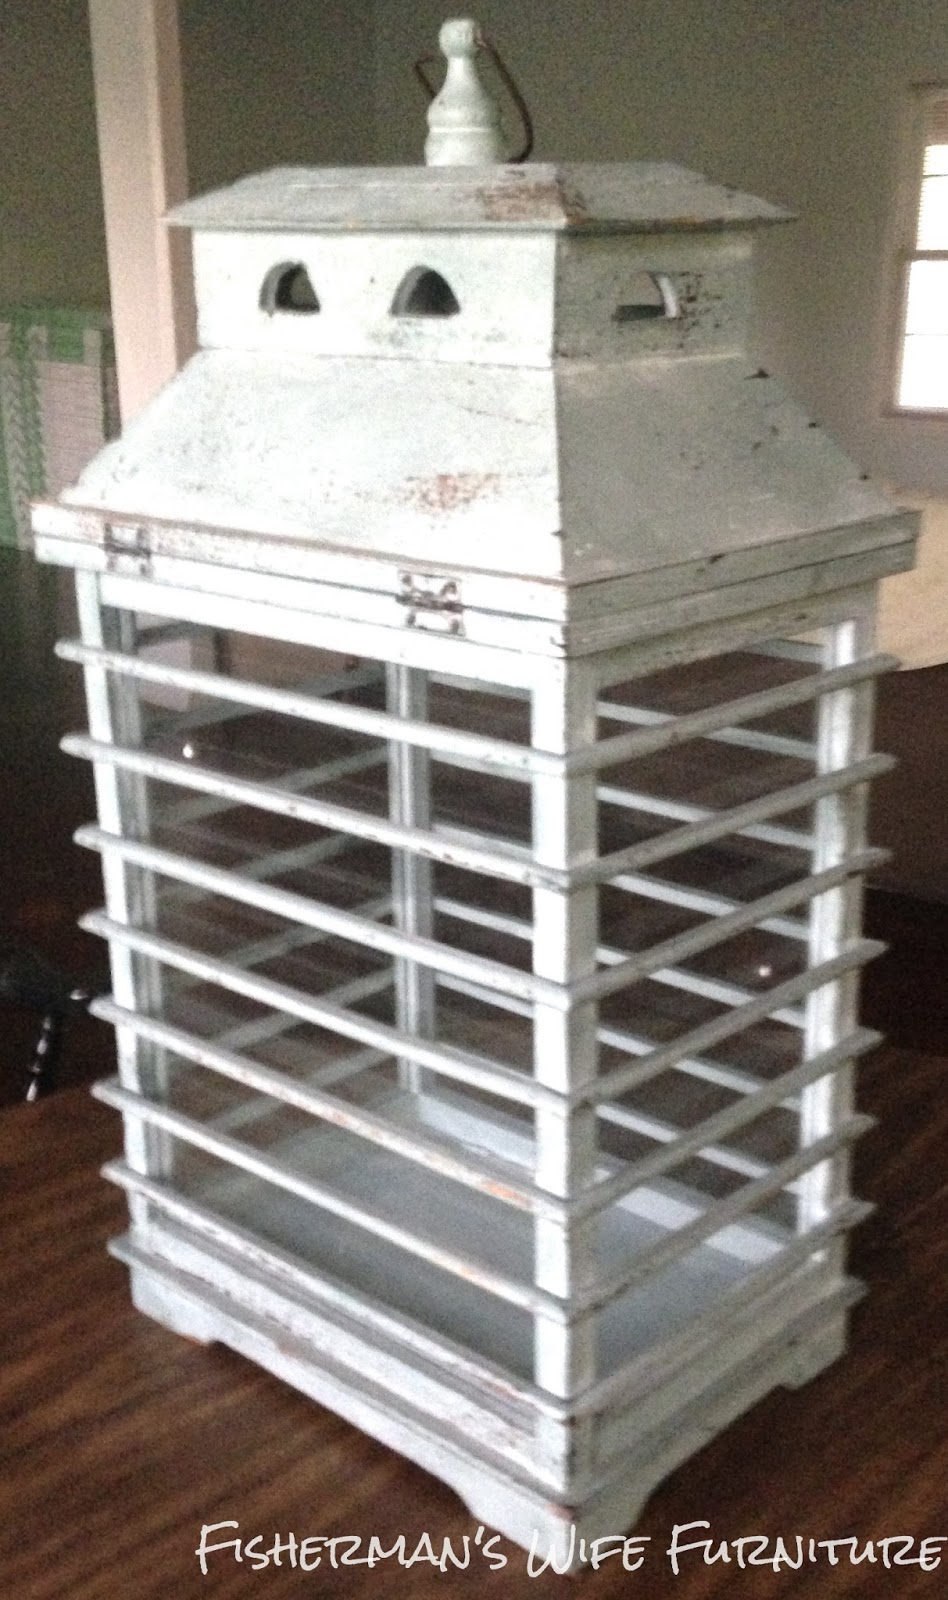
I had to have it. It was what I was looking for. It had character. It was coastal without being too nautical or beachy. It was blue and I liked the shade so I didn't need to paint it. No one else would have one. It was perfect.....except it wasn't an electric lantern. Having lights is kind of an important part of a light fixture over a dining room table. So I decided I would make it electric. Not hard, right?!
A few months before the move, I had seen Kristen from Lipstick and Sawdust do a DIY Lantern tutorial. It is brilliant! Check it out here. I wanted to apply that concept to the blue lantern.
When we got to Texas I started shopping for a chandelier I could tear apart. I found this beauty was hanging in a local junk store.


I brought it home and got to work. I took out the candle part, electrical wires, chain and other necessary parts. I used chrome spray paint from Lowes and sprayed all the metal parts.
The lantern I purchased was not meant to be a hanging lantern so my dad helped me add extra support to it. Between my engineer dad and my
Here is what was hanging in the dining room before.


Yes, they used fishing line and supplies to hang the lantern on the hook. Fancy.

And here is my lantern!


 |
| Photo Credit: Ever & Anon |
 |
| Photo Credit: Ever & Anon |
 |
| Photo Credit: Ever & Anon |
 |
| Photo Credit: Ever & Anon |
Click here to see before and after pictures of the dining room.
IT IS PERFECT. I love it. If you are interested in this project go check out Lipstick and Sawdust's tutorial. It is a great jumping off point. There is going to be some problem solving in a project like this since every lantern and every chandelier is a little different but the end result is worth it!
Cost Break Down
Lantern - $90
Chandilier - $50
Paint - $10
Misc parts needed - $20
TOTAL - $170
That's a big savings and not a bad price for a custom, one of a kind lantern!

This is so cute! My mister used to work in New Orleans and I loved the houses down there. Love your lantern and way to go for making it work for you! Thanks so much for stopping by chapter37!
ReplyDeletesaw you at Keeping it Simple. I love this lantern! How ingenious of you. Your kitchen looks fabulous and after seeing your gorgeous tile I may need to look into glass tile in that size as well for my kitchen. I was thinking of subway tile and not glass, but your kitchen is very traditional looking but with a sophiscated edge and I love what the tile does for the look. Thanks for some eye candy and inspiration.
ReplyDeleteOur kitchen sink is very clean lighting. Beautiful, simply beautiful.
ReplyDeleteClassic Crystal Lamps
Awesome article! I want people to know just how good this information is in your article. It’s interesting, compelling content. Your views are much like my own concerning this subject.
ReplyDeletePendant Lights
Hi there, Love the lantern redo - love the coordinating baby blue color of the lantern and the shelves and dog food storage hutch. What type of paint did you use on these things? What was the color? THanks! Beautiful handiwork.
ReplyDelete